Use a bus camera monitor to support the reversing decision, not make it for you

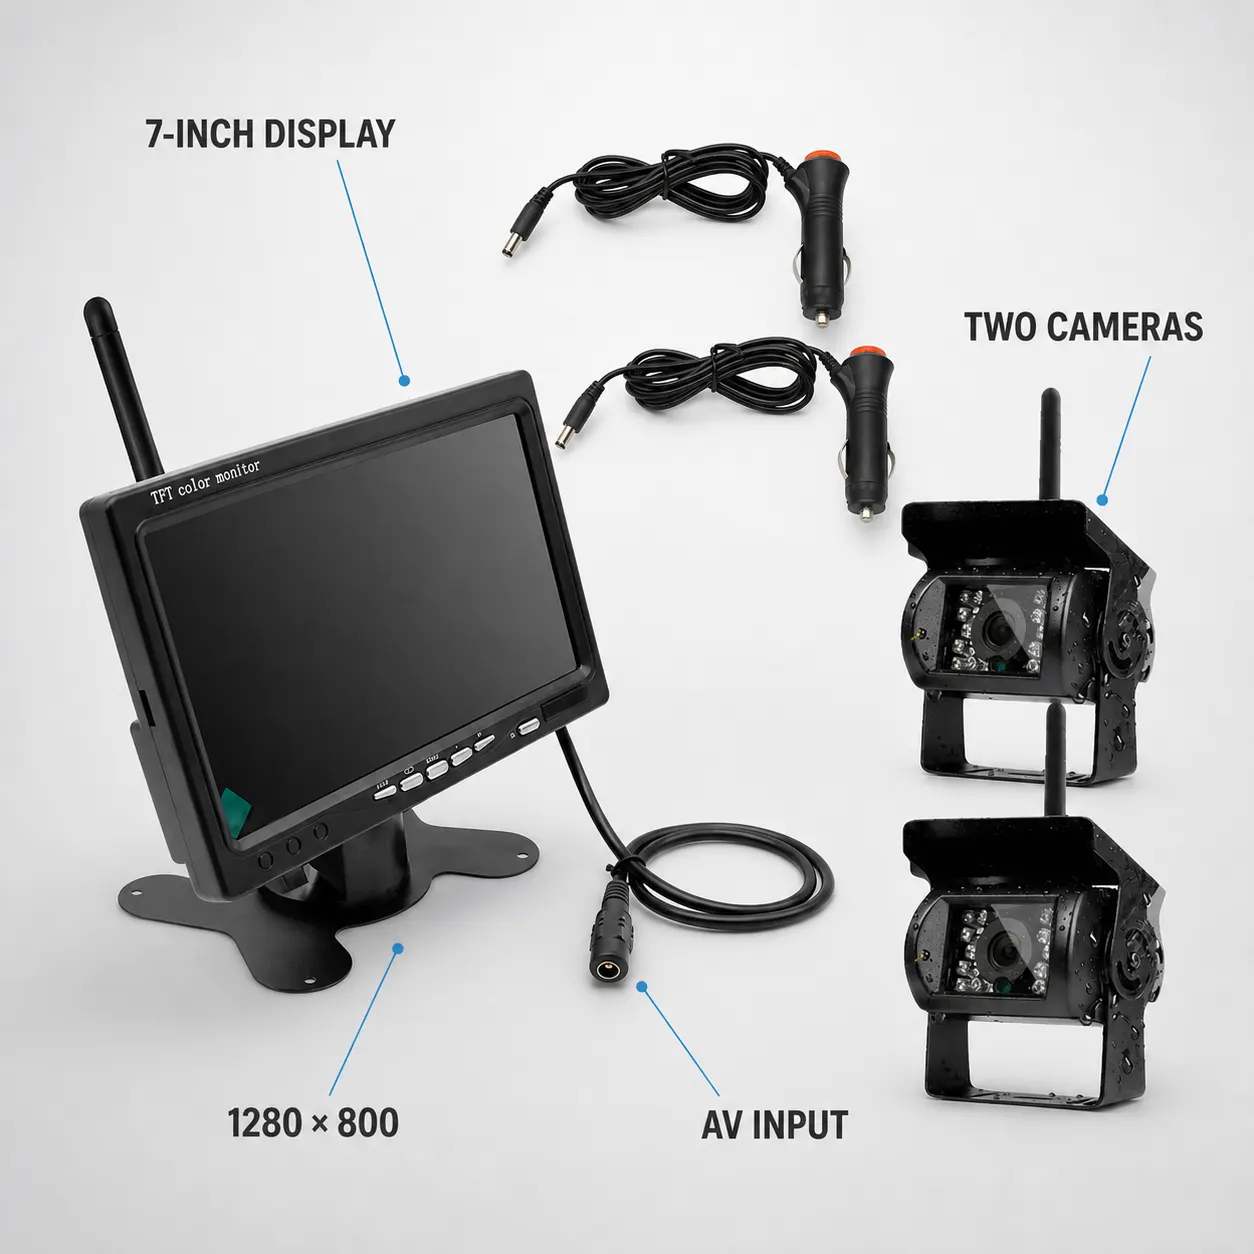
Wireless Vehicle Camera System controls and screen

A bus camera monitor is worth considering when the driver needs a clearer live view from the cab during reversing, shunting or tight low-speed turns. For a working vehicle in a depot, yard or workshop, the immediate decision is practical: can the screen sit where the driver can glance at it, can the camera view cover the blind area that matters, and does the power route suit the cab without creating clutter? If those three checks fail, the monitor may become another distraction rather than a useful visibility aid.

The 7-inch wireless bus camera and display system described here is a two-channel package with a 7-inch display, two bus-camera channels and two cigarette-lighter power accessories in the selected configuration. The listed display resolution is 1280 x 800, and the listed signal type includes AV input. Those facts make it a candidate for buyers comparing a dedicated in-cab display against mirror-only manoeuvring, but they do not prove fitment for every bus, coach, long van or motorhome. The useful question is not whether a camera sounds helpful; it is whether this documented setup matches the vehicle, the cab and the reversing job.

Map the Birmingham depot job before looking at the kit

In a Birmingham bus depot, the awkward moments are rarely dramatic at first glance. A vehicle may be edging out of a wash bay, reversing towards a workshop door, turning near parked service vans or moving through a tight delivery corner where pedestrians and cyclists can appear quickly. Mirrors give essential information, but they do not remove every blind spot around a long body. A monitor can help by putting a rear or side view into the cab, especially when the driver is already managing steering angle, mirror checks, window checks and radio instructions.

Before choosing any camera display, write down the manoeuvre that causes the most pressure. For one fleet, it might be reversing from a school pick-up holding area; for another, it may be backing a coach into a workshop line where pillars and open doors sit close to the rear corner. For a motorhome owner, the equivalent setting could be a narrow campsite pitch or a sloping storage yard. That job decides the camera angle, monitor position and channel use. Starting with the setting keeps the purchase grounded in human behaviour: drivers need simple cues at the exact moment their attention is already divided.

Check the two-channel package against the blind spots you actually have

The selected package includes two bus-camera channels, which matters because a single rear view is not always the whole problem. A buyer might want one view aimed towards the rear bumper area and another giving a different rear or side perspective, depending on how the cameras are mounted and what the vehicle allows. The frozen facts confirm the channel count, but they do not specify waterproofing, night vision, camera body size, mounting hardware or exact cable lengths. Those gaps are not small details; they are the checks that decide whether the package suits the vehicle.

Treat the two channels as a planning tool rather than a promise of complete coverage. On a bus or coach, one channel may be considered for the rear approach into a depot bay, while the other could be assessed for a view that supports turning or reversing near a kerb. On a long van or motorhome, the buyer may be thinking about bumper clearance and road-behind context. The right test is to stand behind the vehicle and name the missing view in plain language: rear bumper, rear corner, loading door, tow area, workshop post or blind side. Then check whether a two-camera layout can sensibly show those views.

Judge the 7-inch display by cab placement, glare and driver workload

A 7-inch display can be easier to use than a very small screen, especially in a larger cab where the driver is already scanning mirrors and surroundings. The listed 1280 x 800 resolution is a documented attribute, so it is fair to use it when comparing screen specifications. But resolution alone does not decide usefulness. A sharp display placed badly can still block sightlines, catch glare or force the driver to look away for too long. The monitor has to belong in the normal cab workflow, not fight against it.

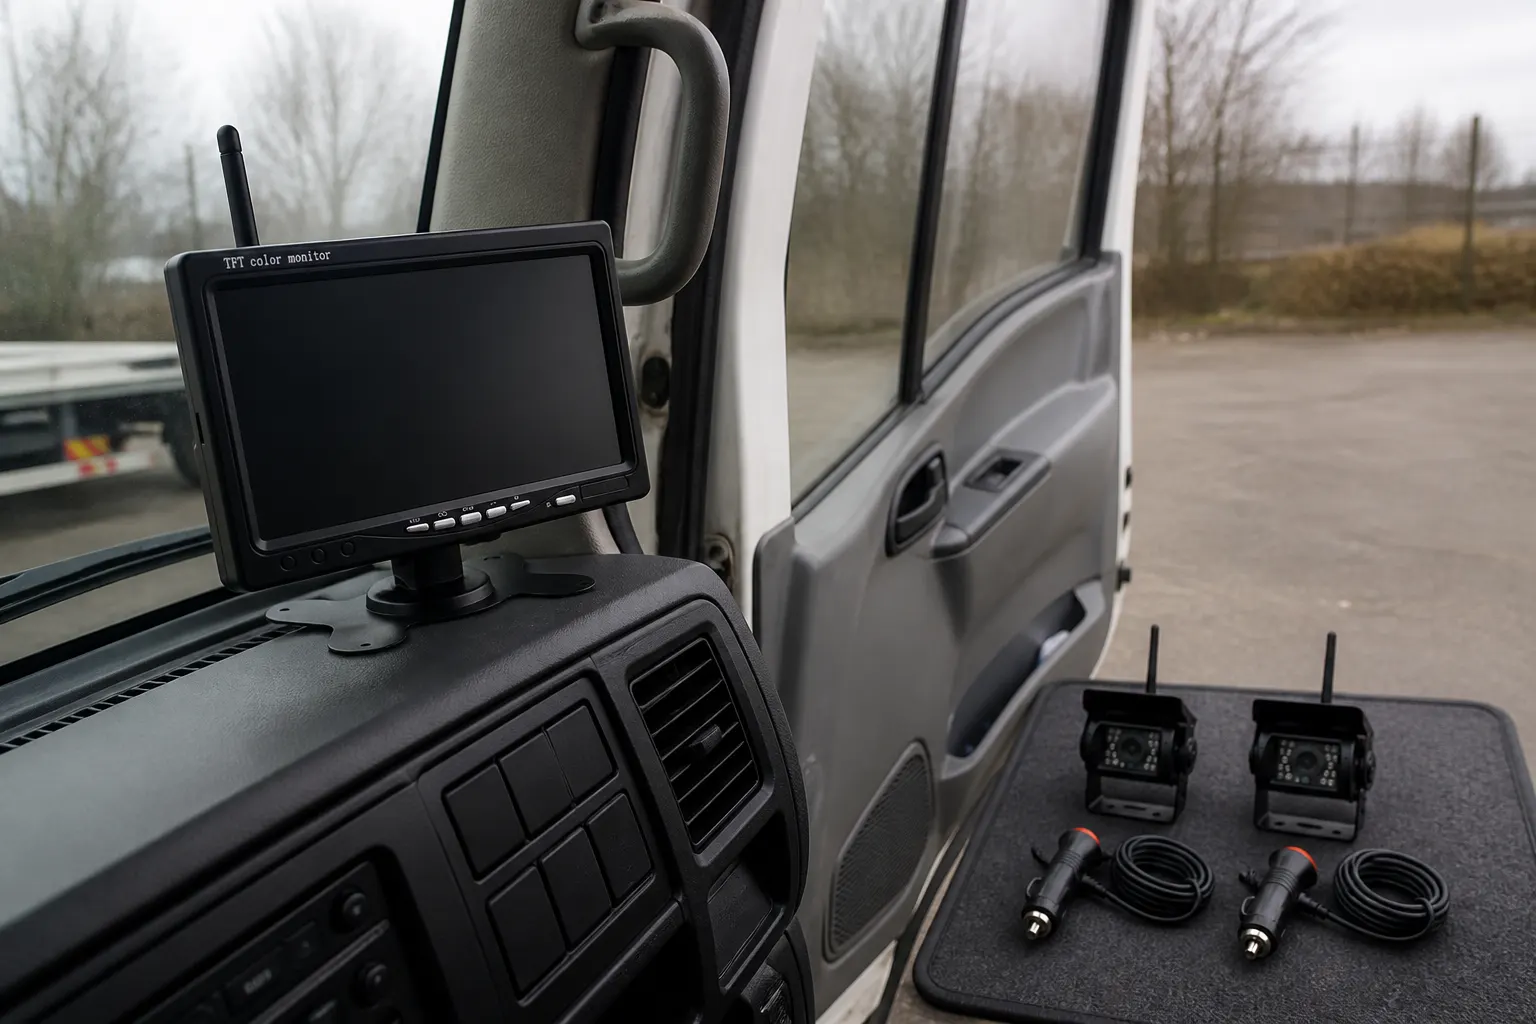
In a depot vehicle, the best placement is usually found by sitting in the driving position and rehearsing the manoeuvre without moving the vehicle. Ask where the driver naturally glances when reversing, how the screen would sit relative to mirrors, and whether the cable and cigarette-lighter power route would trail across controls. Also consider who drives the vehicle. If several drivers share the same bus, a screen position that works for one person may irritate another. The human test is simple: the display should help the driver confirm a view quickly, then return attention to mirrors, windows and the surrounding area.

Use this documented-fit checklist before buying for a workshop or yard

Work through the facts in a fixed order. First, confirm the vehicle has a sensible place for a 7-inch in-cab display that does not obstruct the windscreen or key controls. Second, confirm that two camera channels match the two views you actually need, not just the idea of having more coverage. Third, check whether cigarette-lighter power accessories suit the cab power layout and whether that socket is positioned sensibly for a tidy installation. Fourth, note that the listed signal includes AV input and decide whether that matches your intended setup.

Then check the operating environment. In a workshop yard, camera usefulness depends on dirt, spray, low sun, shadows and the angle of reversing approach, but the provided facts do not document weatherproofing, low-light performance or automatic distance guidance. That means you should not buy on assumptions about those points. For aftercare, plan a simple lens-check habit at the start of a shift or before a difficult manoeuvre, because a dirty camera can give a false sense of confidence. This checklist keeps the decision practical: screen position, channel purpose, power route, input compatibility, environment and cleaning.

Know the mismatches before fitting it to a coach, HGV or camper

This product should not be treated as a universal answer for every large vehicle. If the vehicle needs a hard-wired commercial installation, integrated factory dashboard display, specified fleet telematics connection or documented safety certification, those claims are not present in the supplied facts. If the buyer needs confirmed night performance, waterproof rating, exact wireless range or compatibility with a particular vehicle model, those details are also not provided here. In those cases, the safer buying move is to pause and verify the missing information rather than stretch the facts.

There is also a behavioural mismatch to watch for. A camera monitor can support a driver, but it should not encourage rushed reversing, fewer mirror checks or the loss of a banksman where one is required by the site’s own process. In a busy depot, the screen is one cue among several. It may reduce guesswork around a specific view, but it cannot know whether someone has stepped into a blind area outside the camera angle. Buyers who want automation, collision prevention guarantees or a replacement for safe manoeuvring practice are looking for a different kind of system and evidence.

Compare wireless convenience with wired certainty in the real cab

Wireless camera systems appeal because they may reduce the amount of cable routing through a long vehicle, especially on buses, motorhomes and van conversions where pulling trim apart feels disruptive. The selected system is described as wireless and includes cigarette-lighter power accessories, which makes the power conversation more approachable for many buyers. That does not remove all installation questions. Wireless still needs sensible camera placement, power planning, screen mounting and a check that the signal is dependable in the vehicle’s intended environment.

A wired commercial system may be preferred when a fleet wants a more permanent installation, tighter integration or a known route through existing vehicle electrics. A wireless display package may be more attractive where the buyer values less invasive setup and a dedicated screen. The comparison is not about one route being universally better. It is about tolerance for installation work versus tolerance for wireless uncertainty. In a Birmingham depot, where vehicles may pass through metal structures, workshops and busy parking lines, the sensible next move is to test the intended mounting and power layout before assuming the wireless route will solve every problem.

Take the next step with a vehicle-specific viewing plan

The grounded next step is to draw a simple viewing plan for the exact vehicle. Mark the driver’s normal reversing line, the rear corner or bumper area that is hardest to judge, and the place where the 7-inch display could sit without blocking sightlines. Then assign a purpose to each of the two camera channels. If you cannot name the two views clearly, the second channel may not add much value. If you can name them, you have a stronger basis for checking whether the package matches the job.

For a fleet buyer, that plan can be discussed with drivers, workshop staff or whoever manages vehicle preparation. For a motorhome or long-van owner, the same exercise can be done on a driveway or storage pitch using cones, bins or a helper standing safely away from the vehicle path. Keep the decision tied to documented facts: 7-inch wireless display, two camera channels, two cigarette-lighter power accessories, 1280 x 800 listed resolution and AV input. If those facts match the vehicle’s power, placement and viewing needs, the system is worth shortlisting. If the missing details are central to the job, verify them before buying.